Missions can be created and edited after shipment has arrived. This is helpful if a Mission was not started when the shipment was sent. You only need to define the shipment start and ending times and you will be able to smoothly access the data collected by one or several loggers attached to the shipment.
This functionality is possible because Logmore data loggers constantly take measurements — from the moment they are activated until the end of the battery lifetime. Always make sure that your loggers are activated before attaching them to a shipment. An activated logger has a QR code on its screen — check this article for more details on logger activation.
You have several options:
Create a Mission from the desktop
Create a Mission from phone after scanning the logger
Create a Mission for a completed shipment (desktop)
- Go to the Missions page.
- Click New Mission.
- Select the template that will be used for the mission (if there is an appropriate template) or choose to continue without a template.
- Fill in the details required for the Mission as usual.
Check more details on how you can create a Mission without a template here. - Make sure you select the logger that has been attached to the completed shipment. You can search by its unique ID.
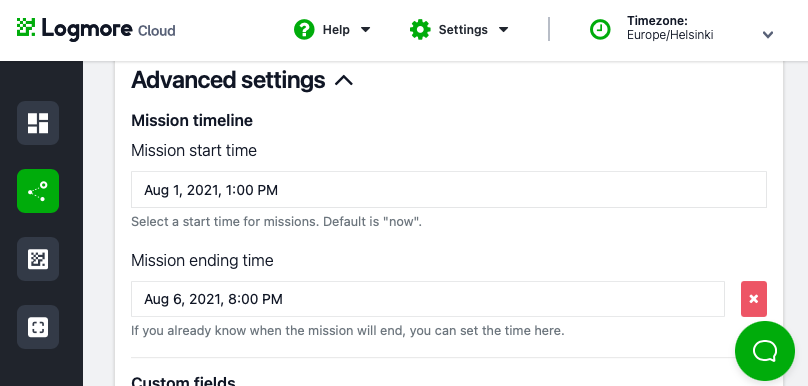
- Set the Mission timeline to reflect the timeline of the shipment. You can select the start and ending dates in the past.
- Finalize the Mission creation. Click Create.
- From the Mission's page, you can review the Mission's details and measurements related to the shipment.
Scan the logger and create a Mission from a template for a completed shipment
You can also scan the logger that has been in an already completed shipment and create a Mission ex post. If you're using Mission templates, you might not have a chance to edit the timeline directly when creating a Mission, but you can do it afterward.
- Log into your Logmore account from your smartphone at web.logmore.com.
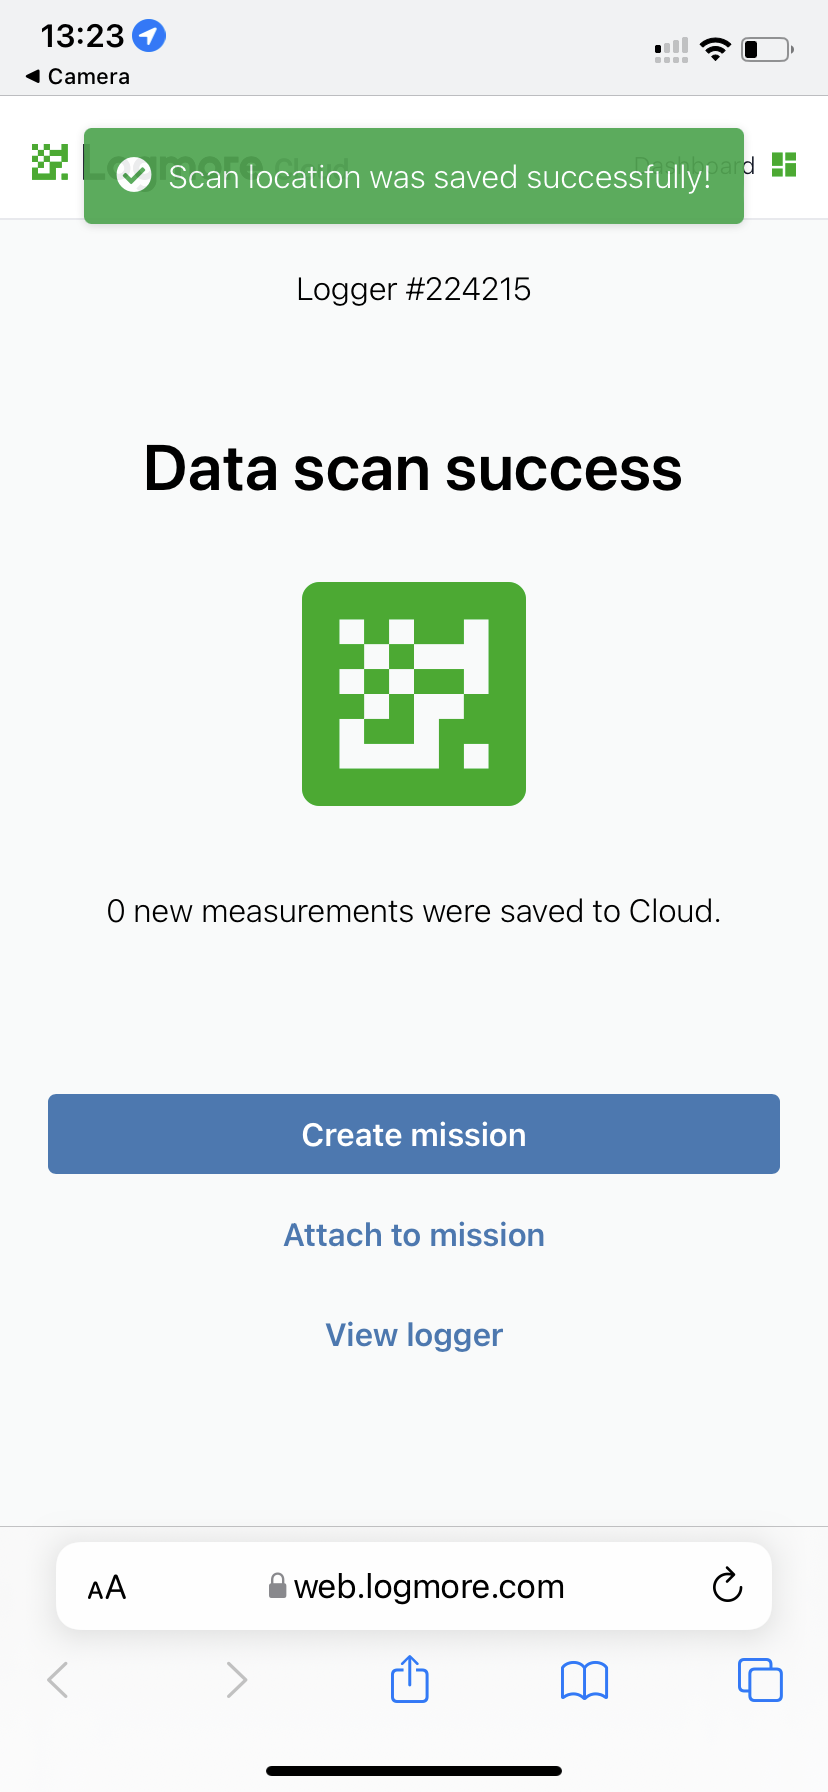
- Scan the logger and click the link.
- Choose Create mission.
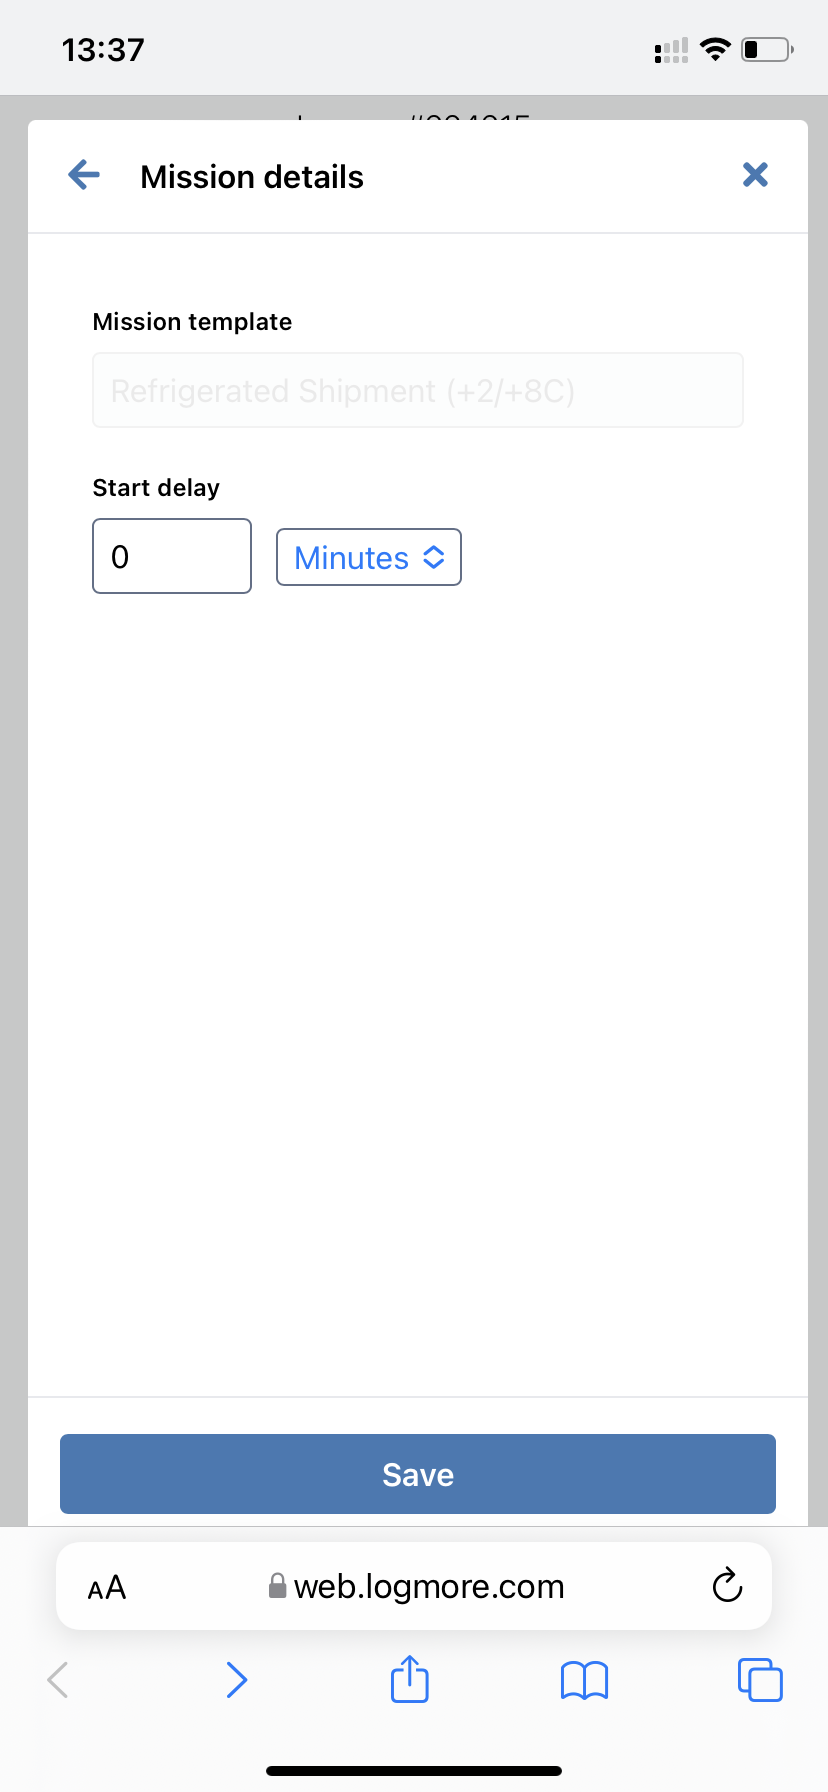
- Select a suitable Mission template.
If you select continue without a template, you will be able to set the Mission timeline in the past as described above. - Fill in the required information and click Save.
- You will see the Mission's page. Click Edit mission.
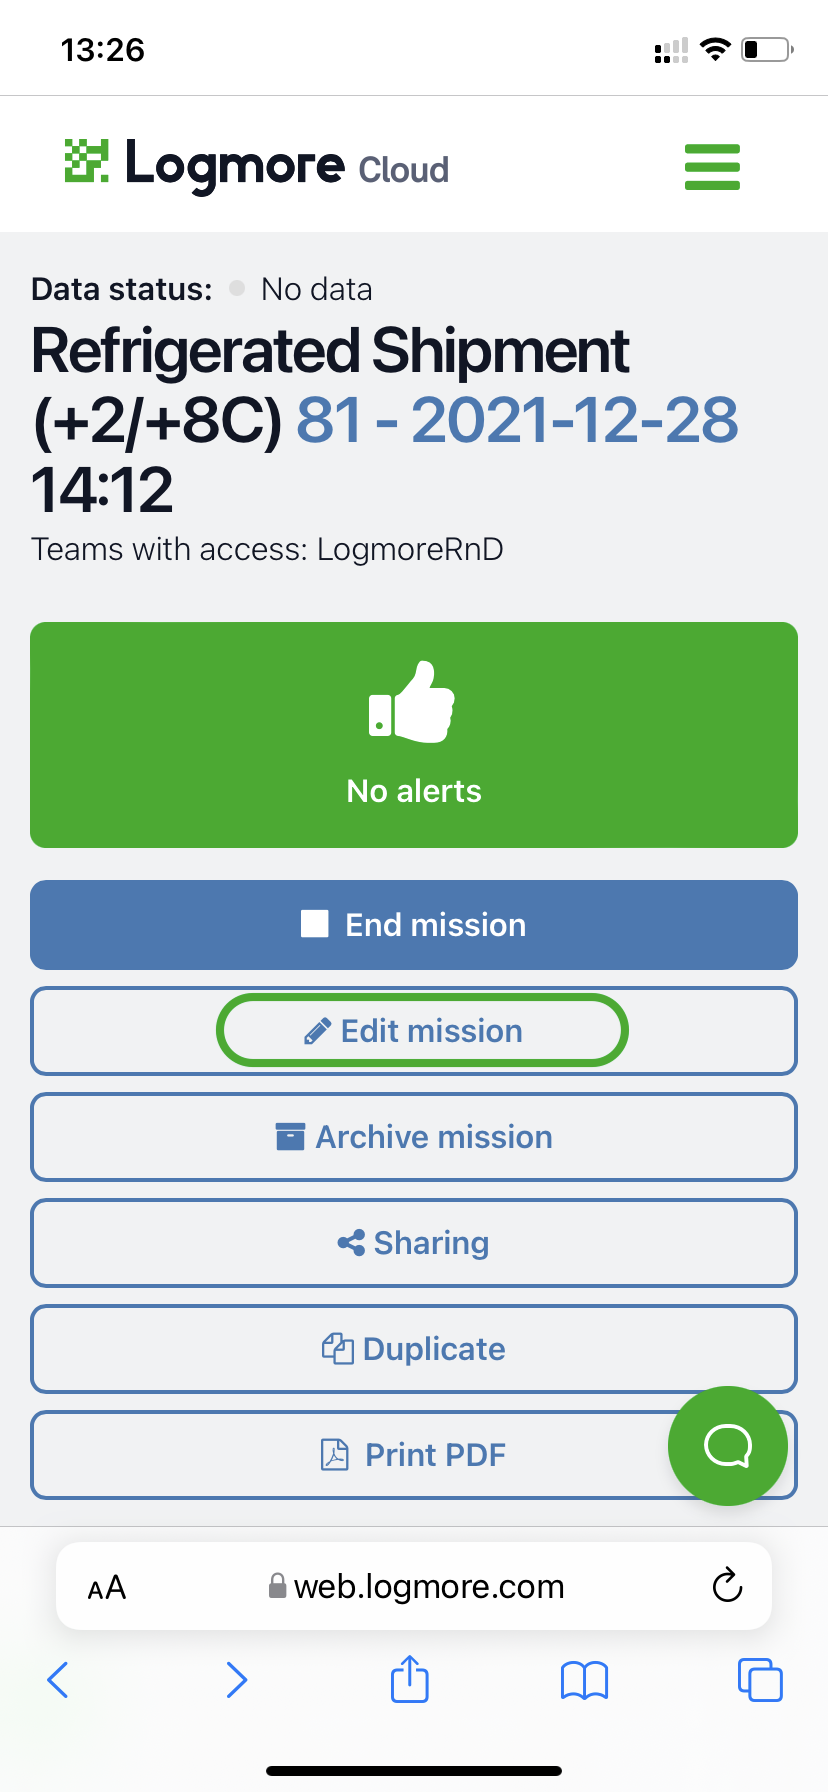
- Adjust the Mission timeline to match with the shipment timeline. Click Save.
- Now the Mission has ended and its timeline matches the shipment. Review the alerts and download PDF reports, if needed.
