Logmore data loggers constantly record data. Attaching a logger to a Mission helps you single out specific measurements collected by the logger and link this data to a certain shipment. You should start a Mission once the shipment has begun. End the Mission when you want to end monitoring, usually after the shipment is over.
What is a Mission?
In other words, a Mission is an umbrella term for any kind of shipment or static unit (from an envelope to a transport container or a warehouse) that you want to monitor for a restricted period of time with one or several Logmore data loggers.
Any Mission includes:
- name of the shipment (for example, the shipment's ID and destination)
- starting time
- end-time
- measurement data
- alert rules to receive notifications if the conditions were unsatisfactory
- custom fields to enrich the data
- restricted or public access to the information
Watch a tutorial explaining what a Mission is and how to create it, or check more details on Mission creation here.
What is a Mission template?
When setting up a Mission, you need to fill in a lot of information, such as alert rules. If you send multiple shipments under the same or similar conditions, you should create a Mission template with all these fields already pre-filled. Mission templates enable faster mission creation and management at scale.
Mission templates enable the following automation:
- quickly starting a mission
- pre-set alert rules
- pre-set custom fields
- regularized Mission names
- pre-configured Scan pages
You can configure Mission templates from Settings —> Mission templates.
Where to find created Missions?
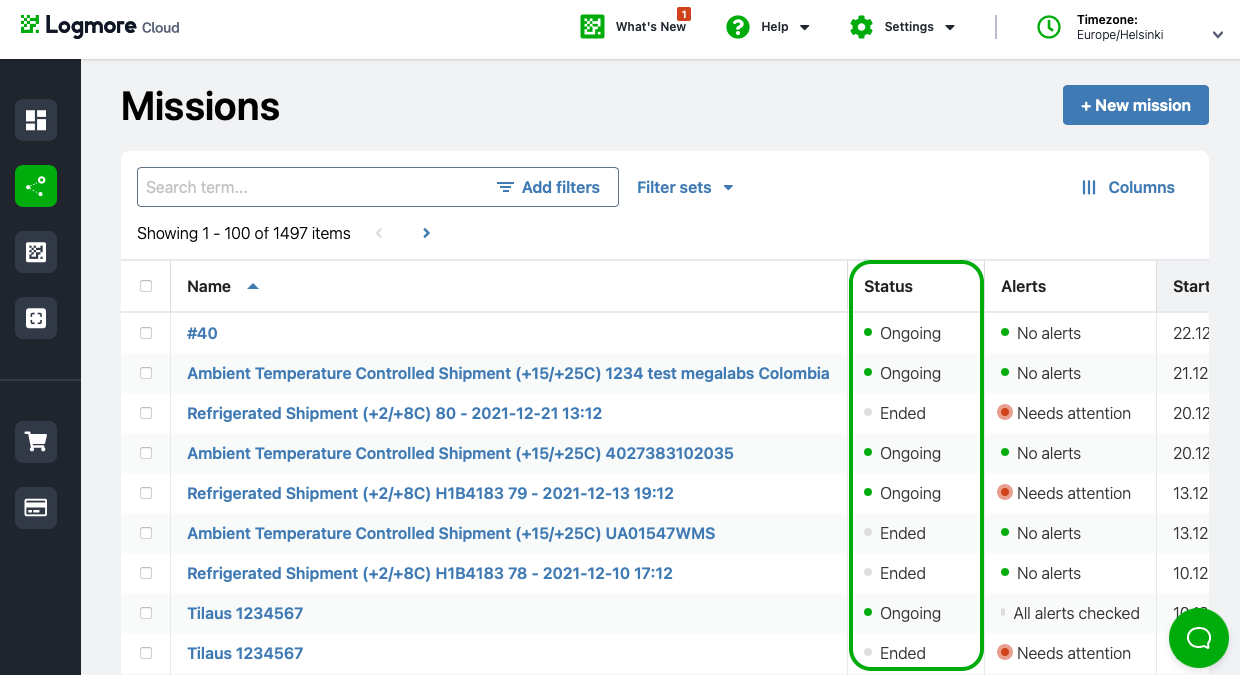
You can check the status of your Missions from the Missions page (left navigation panel).
Review if the Mission is still on or over by checking their status:
- ongoing (currently active)
- ended (already over)
Find out how to review and filter Missions on the Missions page here.
