Once you have created a Mission template, using it when creating a mission to send and monitor shipments is extremely simple.
You can start a Mission from a template in several ways:
Create a Mission from a template with a smartphone
- Scan the logger you wish to start a mission and click the notification link.
- A Scan page will appear. Press Create mission.
If the logger is on another Mission, you should end that Mission first. - To select a template from the list, press Choose.
- Fill in the missing details (e.g., the Mission name or Custom fields if it requires input from the user). Press Save.
You won't be able to Save if the required fields are not filled in.
All the settings from the Mission template were inherited by the created Mission. You can edit the Mission afterward if needed.
Create a Mission from a template on desktop
- Go to the Missions page (on the left navigation bar).
- Select New mission.
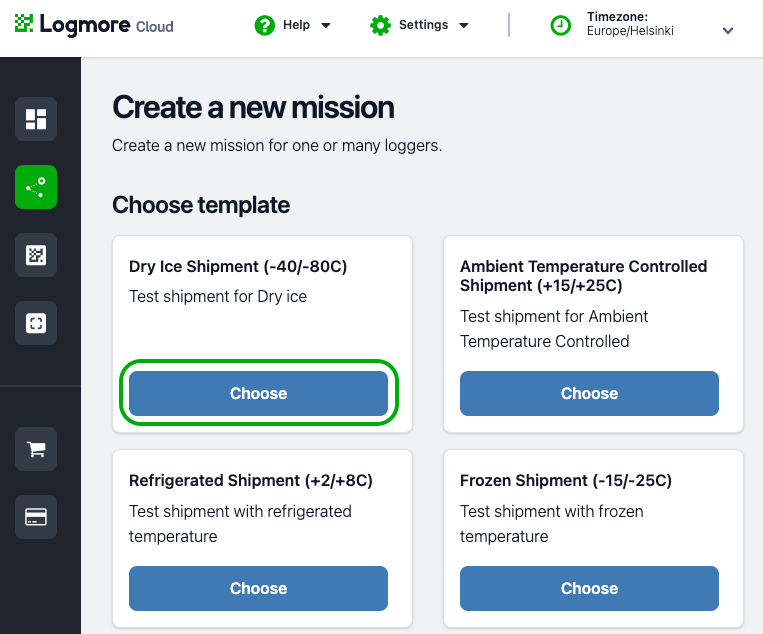
- All your available templates will then appear.
- Pick a suitable template and click Choose.

- Fill in the missing details (e.g., the Mission name if it requires input from the user).
- Select loggers that are attached to the Mission. You can type the logger's unique number to search for it.
- You can adjust further settings manually for this specific mission (the changes won't affect the template).
- Click Create.
Use Scanpoint to create a Mission from a template
Logmore Scanpoint is a 2D barcode scanner built for the operational employees in the warehouse to speed up and automate operational processes at scale. You can quickly start Missions with it using Mission templates.
For detailed guidelines visit the guide on preparing shipments with Logmore Scanpoint.
- On the Scanpoint, select Prepare shipments.
- Press on the correct Mission Template for the shipments you are preparing.
If a user has access to only one Mission Template that template is automatically selected. - Set the delay in minutes for missions. The default delay is 0 minutes.
- Scan the unique barcode to be used as Mission ID. This will be the name of the missions in the Cloud.
- Scan the QR data loggers to be attached to this mission.
- Click Save Mission.
- You can continue creating missions with the same Mission template and delay by just scanning the next barcode for Mission ID.