Logmore helps you monitor the condition of shipments you send from A to B.
Here we walk you through the necessary steps and share the best practices to ensure that monitoring of outbound shipments goes smoothly and successfully.
Initial preparations
Start shipment monitoring by creating a Mission
End shipment monitoring & collect data
FAQ
Make sure you set up the right settings that will enable efficient monitoring and provide you with the right data. Note that the exact configurations often depend on the type of goods you are shipping and your monitoring needs.
Initial preparations
- Make sure your Logmore Account is set up, and you've activated QR data loggers you want to attach to this outbound shipment.
How to activate Logmore QR data loggers?
More details on User account & settings
- Attach a logger to a package or monitored object with an adhesive sticker or a supermagnet. The placement of a logger depends on the conditions you are monitoring (e.g., temperature, shock, light).
- Provide the recipient with instructions on how to scan QR data loggers. It is essential that the recipient scans a logger and uploads data to Logmore Cloud. You can print a quick guide with scanning instructions and place it inside a package if the recipient is unfamiliar with QR data loggers. You can also provide instructions on how to return your Logmore Guardians if needed.
Printable Scanning instructions are found in this article on how to scan loggers.
Start shipment monitoring by creating a Mission
To enable condition monitoring for a specific shipment with one or several loggers, you need to create a Mission in Logmore Cloud.
- Create a Mission with the metadata and alert rules suitable for your shipment.
- You can create a Mission on your desktop and link one or several loggers that are monitoring this shipment. Go to Missions on the left panel — New mission — Continue without a template.
- If you have a pre-made Mission template that has the right alert rules and permission settings, you can start the Mission from the Mission template.
- You can also scan the QR logger with your smartphone, press Create Mission, choose the right Mission template, and enter the shipment information.
- For large shipment quantities, you scan with a PC and a barcode scanner using our Mass scan function or purchase a Logmore Scanpoint.
What are Missions and Mission templates?
How to create a Mission from a template?
- Define access rules to the information about shipment conditions. If you want the recipient to see if the conditions were acceptable or not, make this mission or a specific logger public.
Check more information about Team management and public access to Missions.
- Start a mission right now or configure its timeline if you know the shipping schedule. You can set up the mission's timeline in the Advanced settings.
- Set up alert notifications in the Settings menu — Teams on Logmore Cloud. You and your teammates will get alert notifications if the conditions are unacceptable once the QR data logger has been scanned on the receiving end.
How to set up alert notifications?
- Start monitoring!
End shipment monitoring & collect data
When the shipment has arrived at its destination, you should end monitoring and collect the data.
- Ask the recipient to scan the logger when the shipment is completed. The scanning will upload all the data to the Cloud and trigger alerts.
How to scan QR codes and upload data?
- End the Mission
- The mission can end automatically if you have selected "Auto-stop" in the Logger setups.
- The recipient can end the mission after scanning by pressing the button on the screen.
- You can end the mission from your Logmore Cloud.
- When creating a mission, you can configure the mission ending time. The mission will end automatically on that date.
- Analyze the conditions
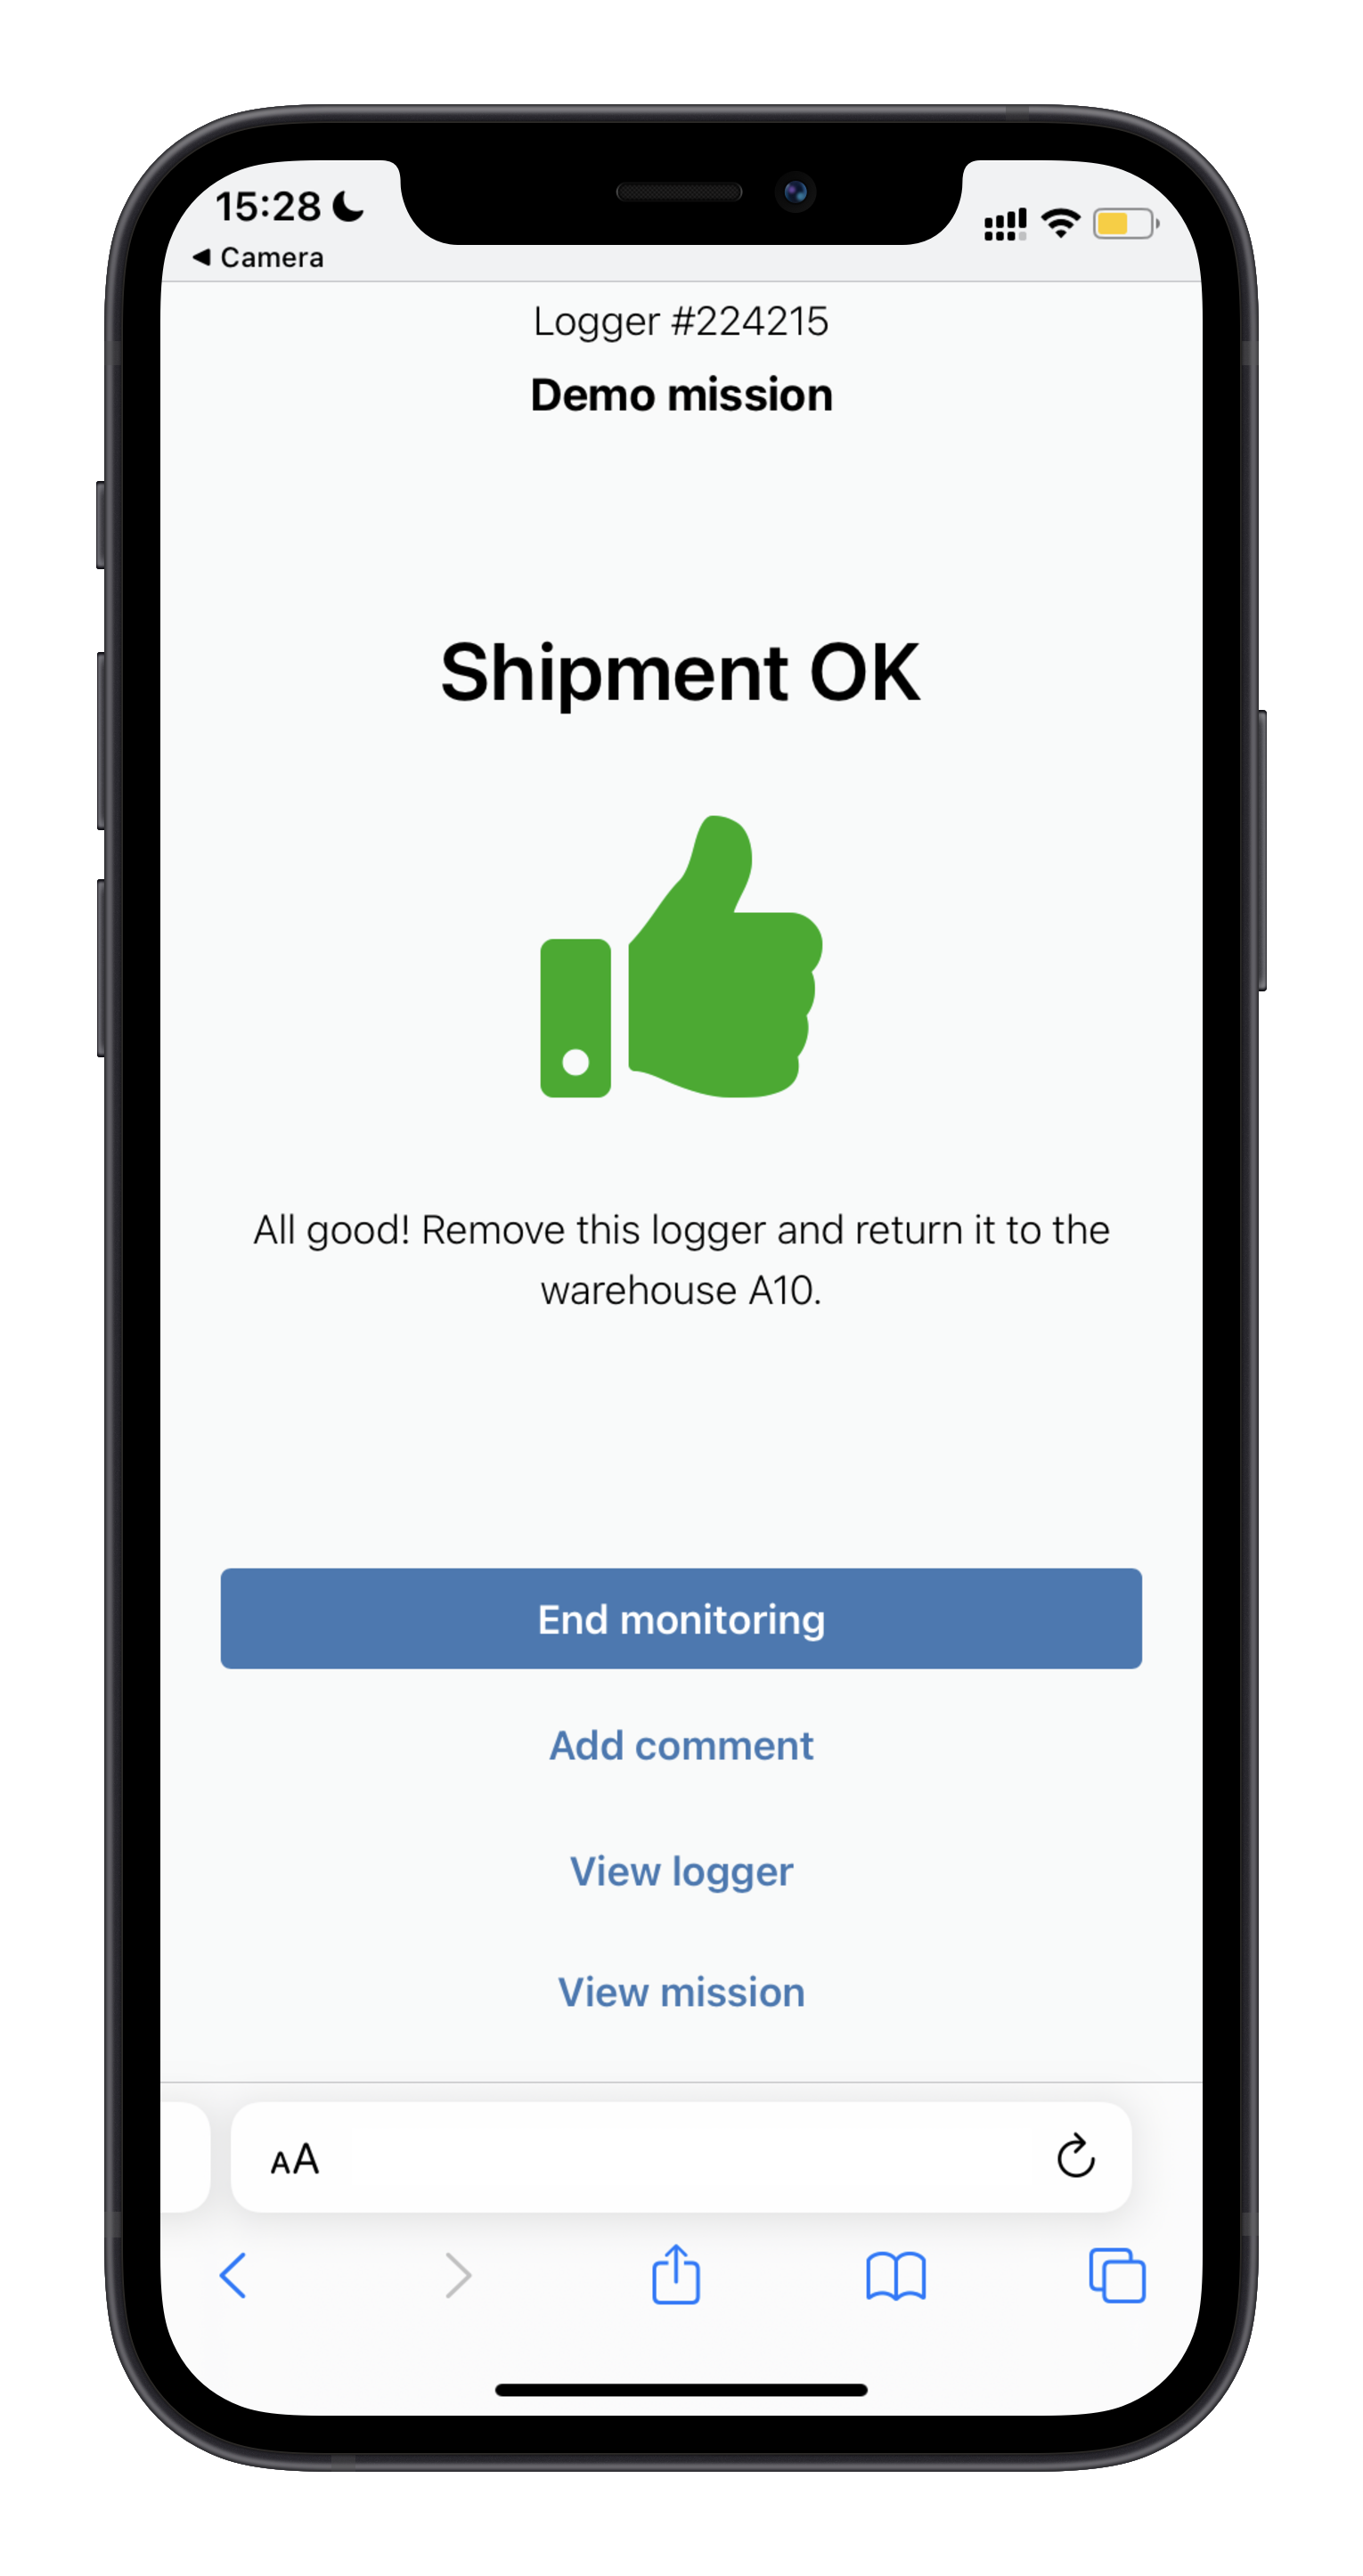
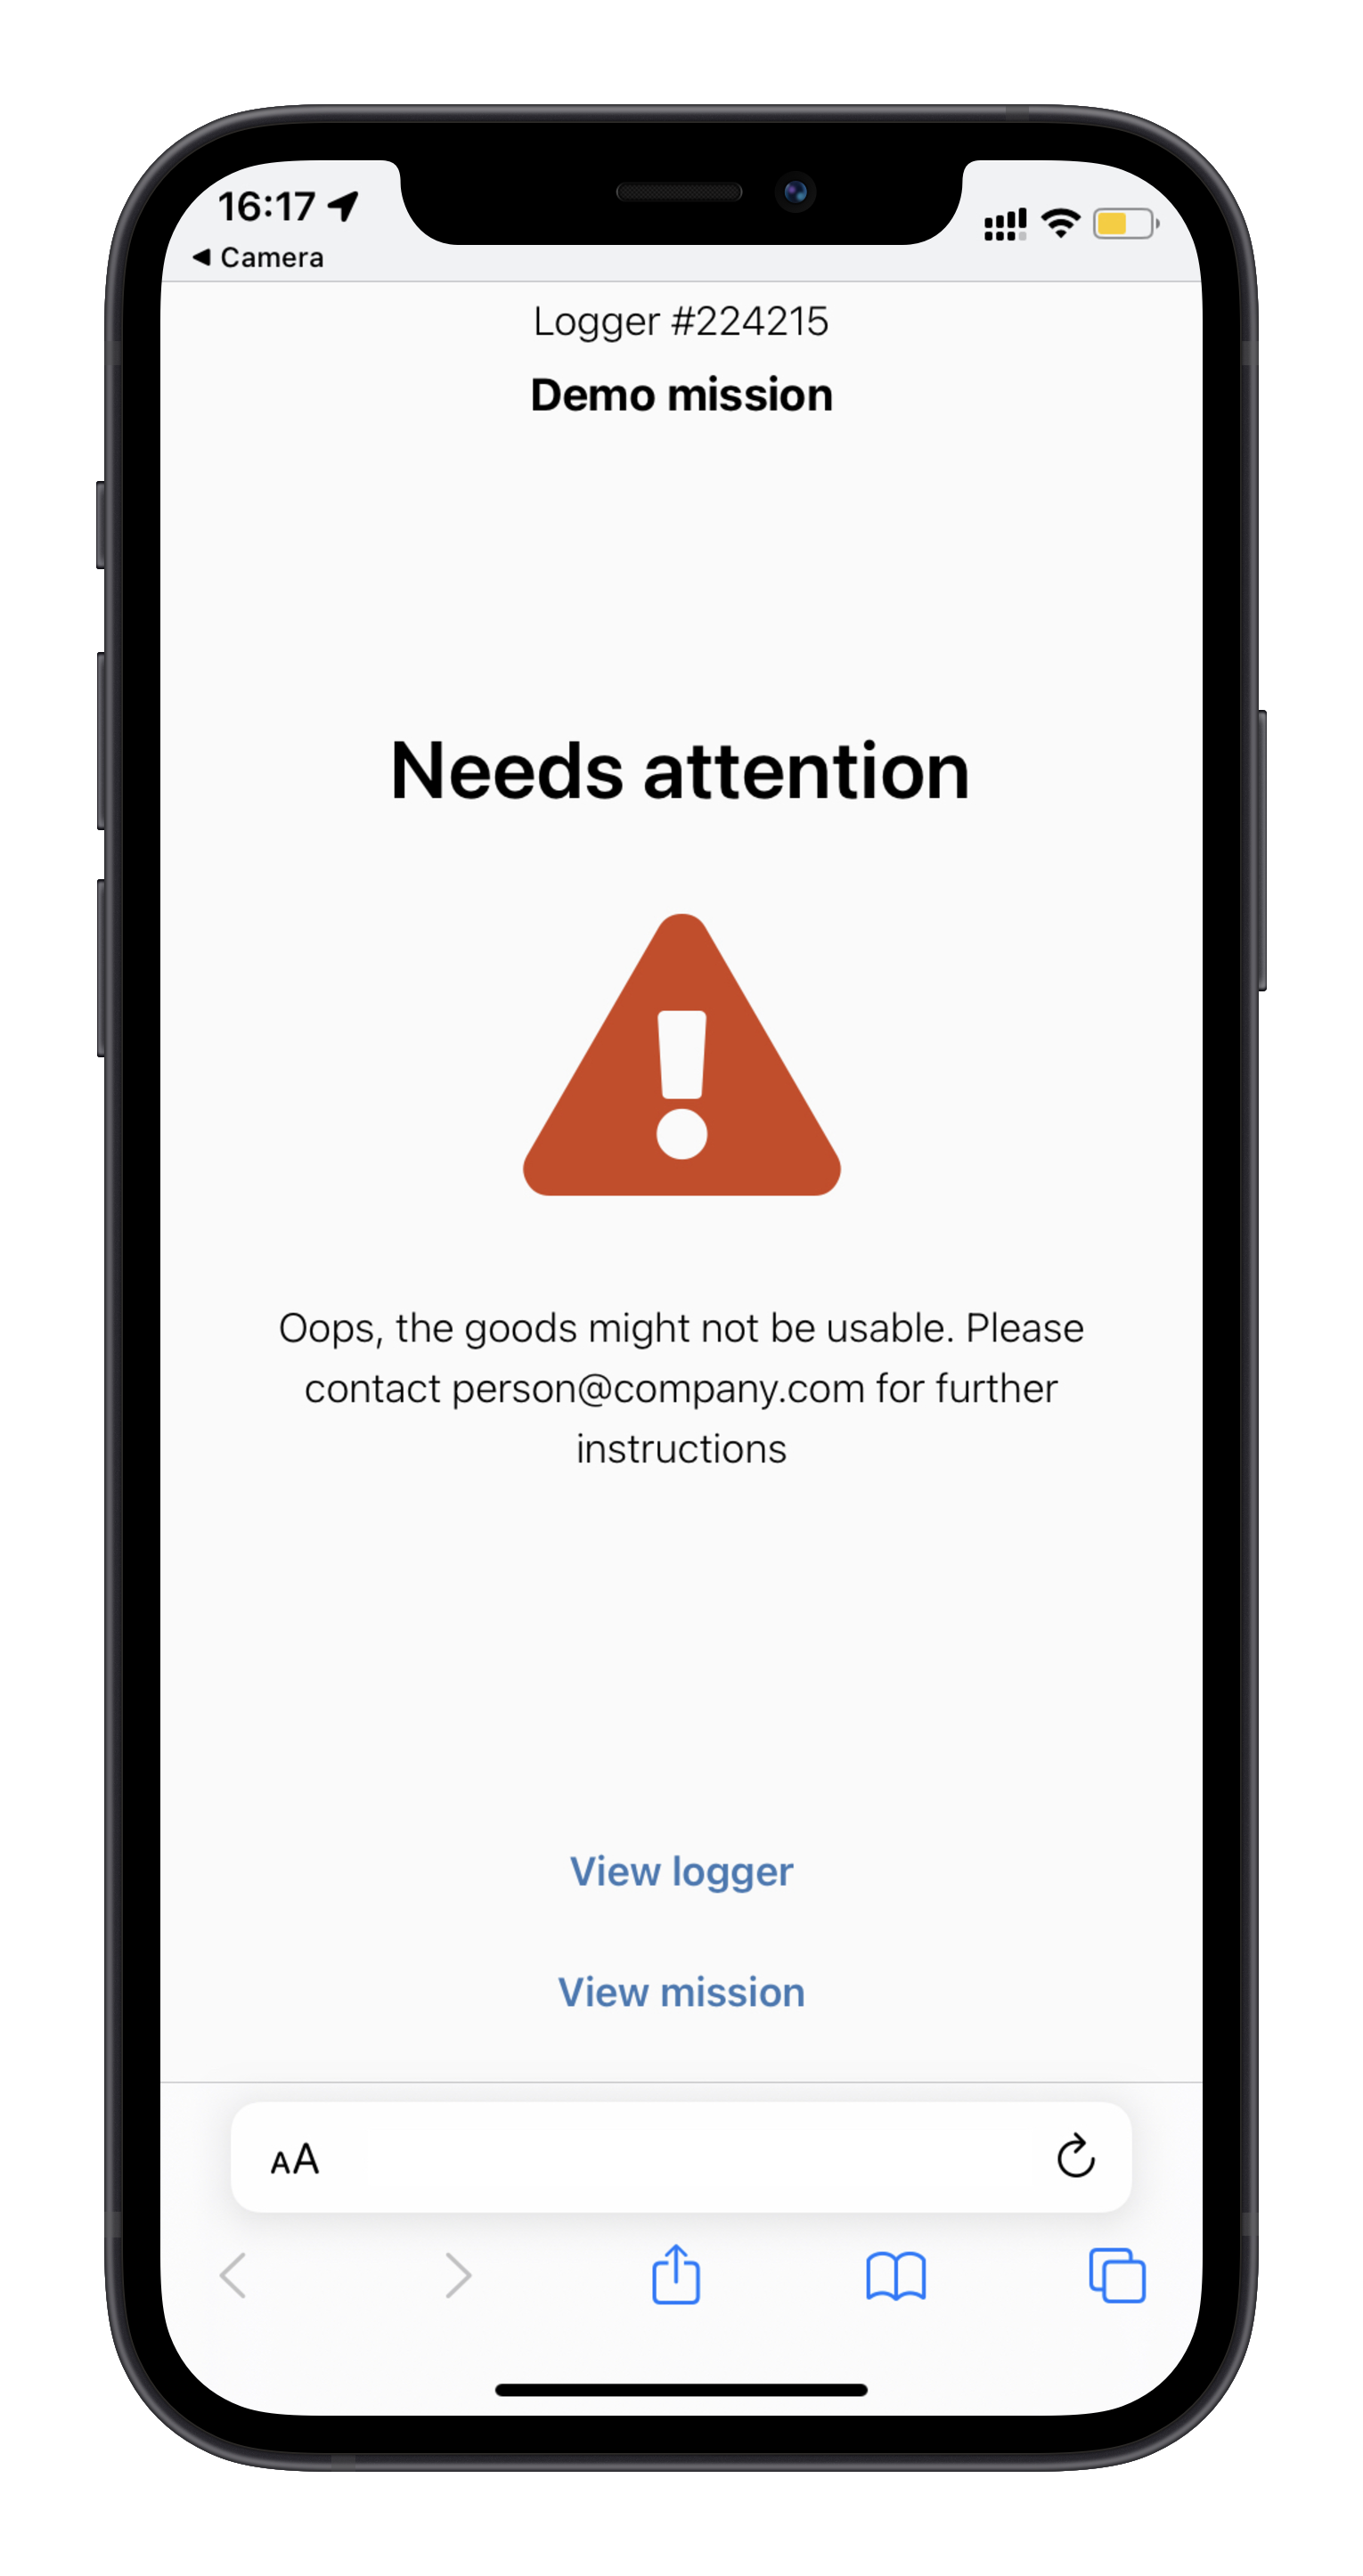
- The recipient will see if the shipping conditions were acceptable or not ("Shipment OK" or "Needs attention"), see more Scan Pages.
- In Logmore Cloud, you will be able to review the measurements history and scan locations.
- You and your team will get email notifications if any alerts have been triggered.
What are Dashboard and Reports?
The recipient will see these Scan pages after scanning the logger if the appropriate settings were enabled in a Mission or Mission template:


FAQ
-
How can I collect data if it's not possible for the recipient to scan the QR logger?
You can ask them to return the QR logger back to you to be scanned.
- In this case, the QR logger collects data from the start of the shipment until you get it back.
- When you scan the returned QR logger all data from the start of shipping needs to be uploaded to the Cloud. You may need to prepare to scan some history QR codes too, check Data missing? Scan history QR codes
- After scanning you can change the ending time of the Mission to match the time when the shipment was delivered to the final destination.
You can ask the recipient to take a picture of the QR code. Scan this QR code to upload data to the Cloud whenever they have internet connection.
-
I've forgotten to create a mission, and the shipment has already left. What can be done?
You can create the mission while the shipment is ongoing (if you know the logger's individual number) or when it's already over. The logger takes the measurements from the moment it has been activated, so your data is not lost.