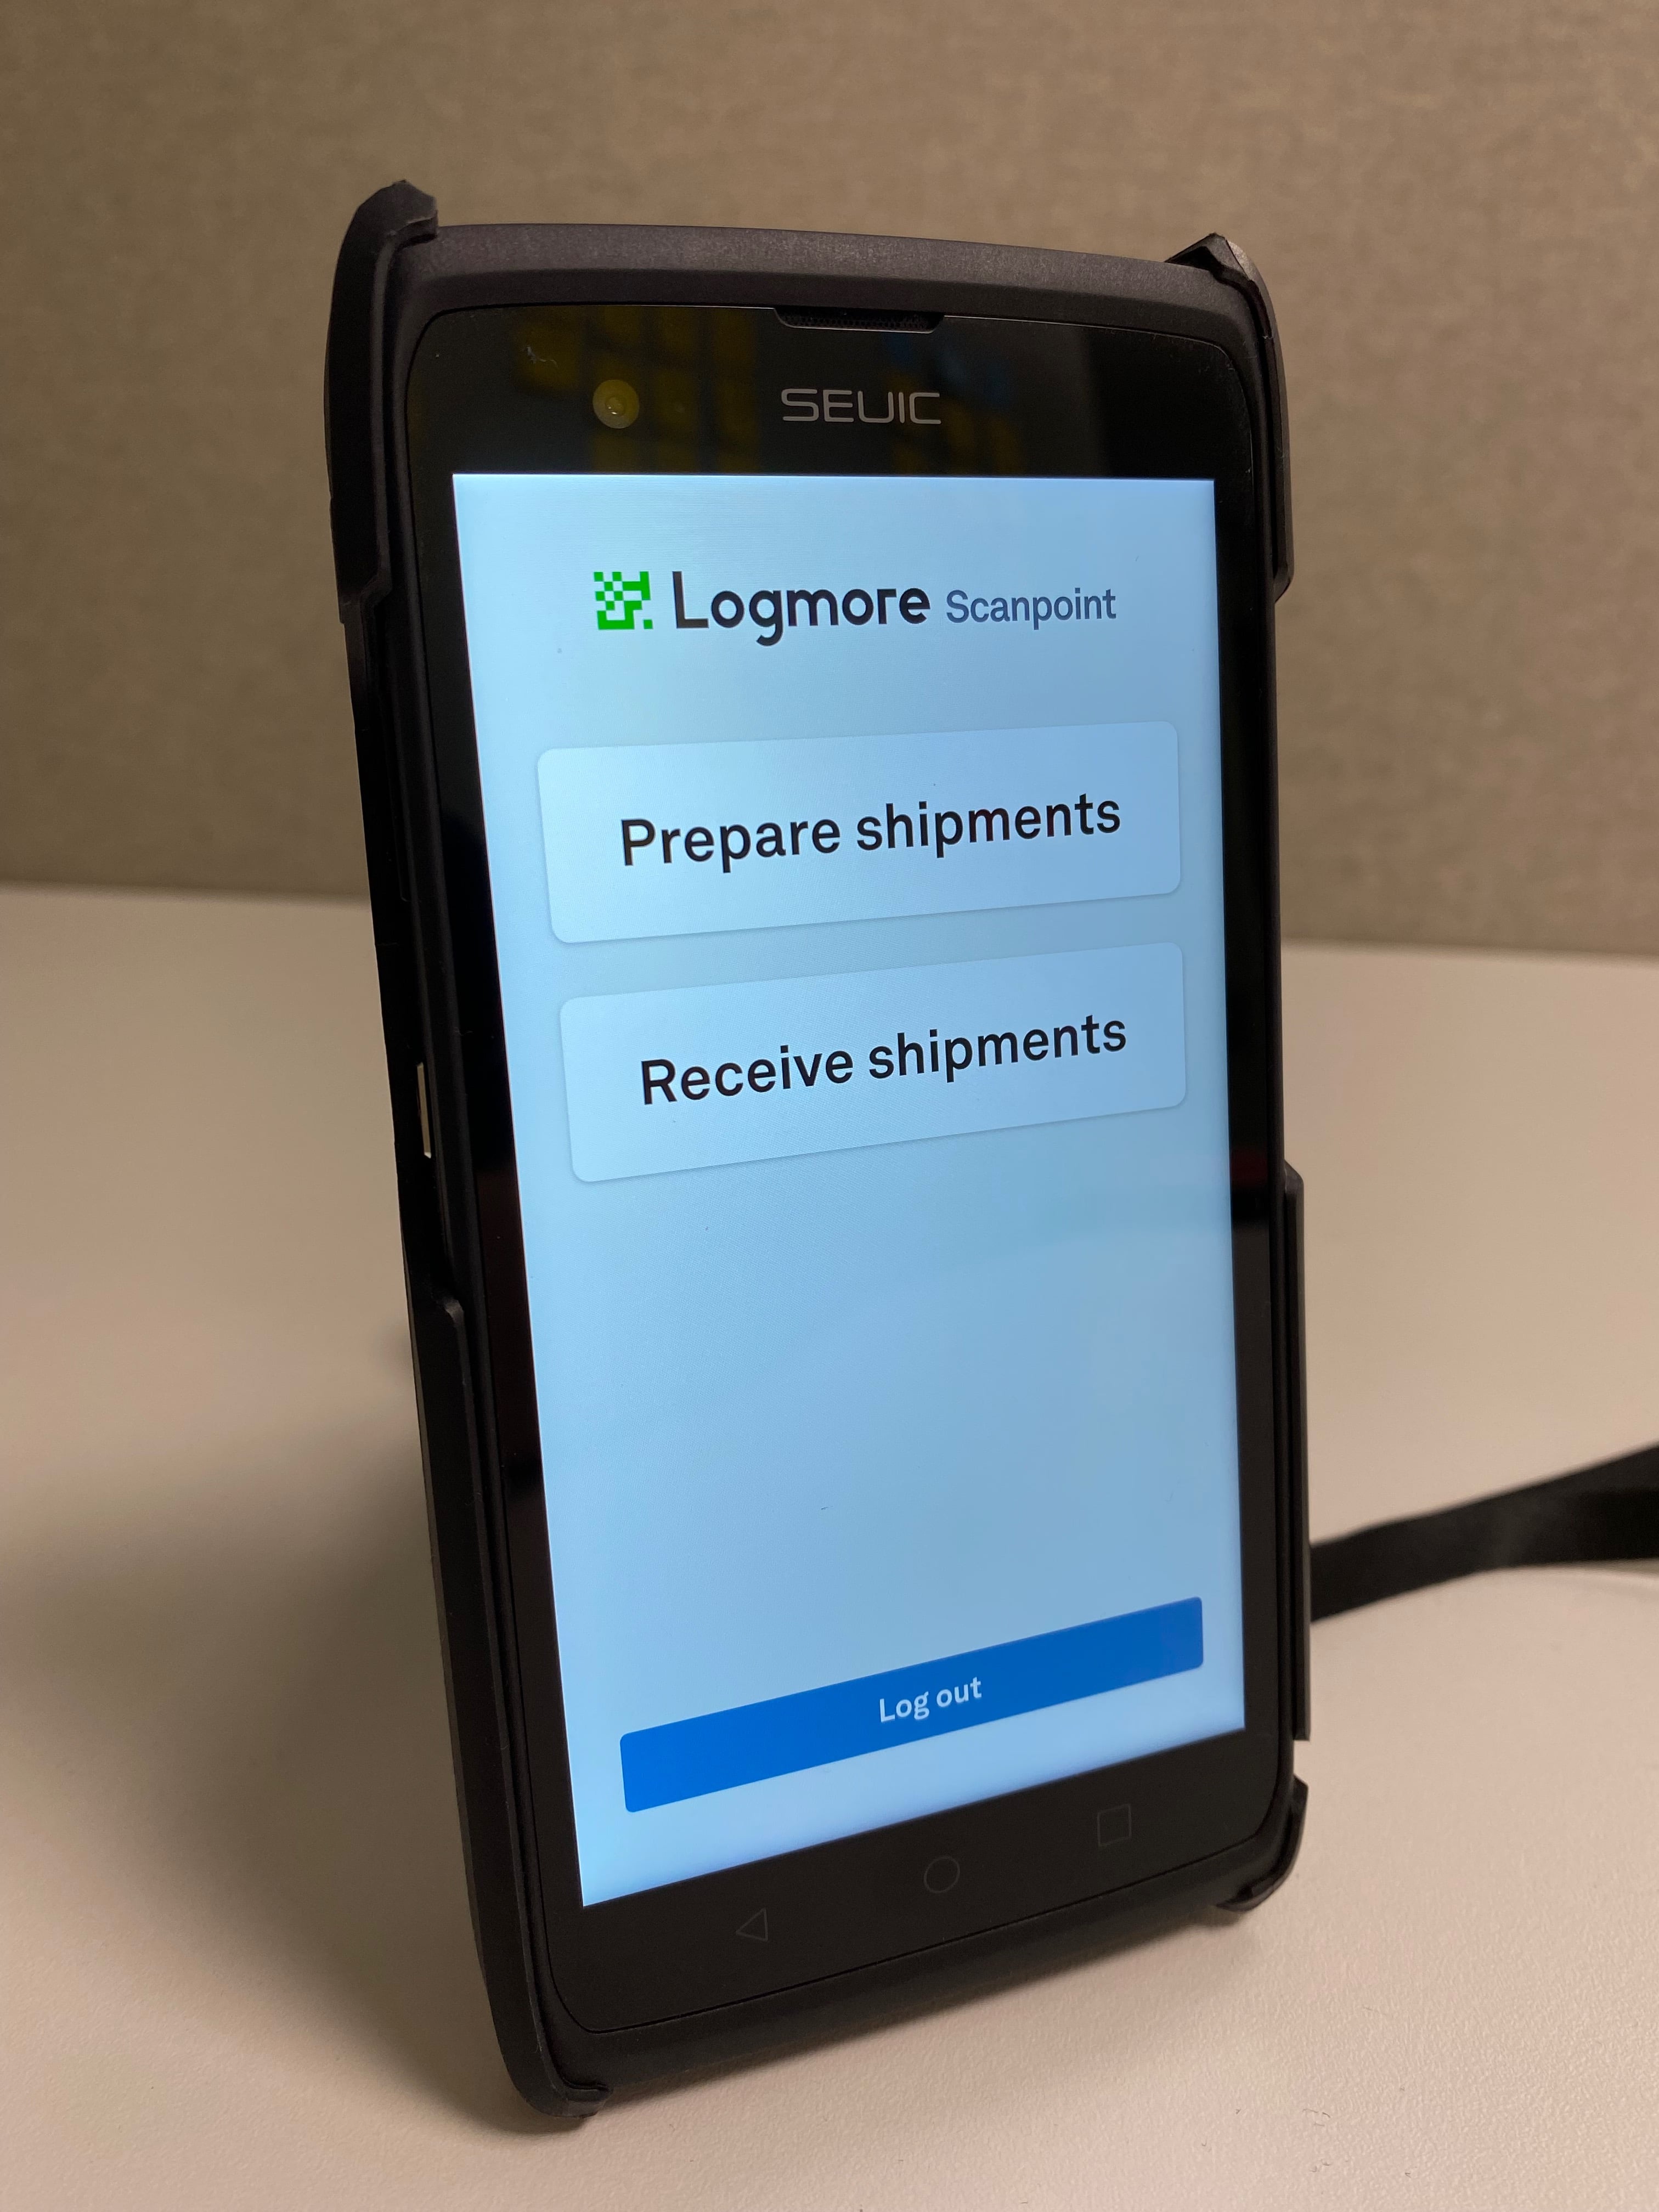
Logmore Scanpoint is a 2D barcode scanner built for the operational employees in the warehouse to speed up and automate the following processes:
✔️ Attaching logger to a Mission
✔️ Creating Mission from Mission Templates
✔️ Connecting a unique tracking ID or air waybill to a Mission
✔️ Receiving shipments

Quick Setup
- Switch on the device
- Connect it to Wi-Fi (Home page —> Settings —> WiFi settings)
- Log into your Logmore Cloud account (check this article for details about logging in)
- Make sure you've created suitable Mission templates that match your operation requirements in Logmore Cloud (see the details on creating Mission templates here)
For more steps required to start using Logmore Scanpoint check this article.
Send shipments
- Select Prepare shipments from the Scanpoint's Home menu
- Choose a suitable Mission Template and set the mission start delay
- Scan a tracking ID or air waybill and a Logmore logger
- Save this mission
- Continue scanning if you want to create missions with the same template
Check this guide for more details.
Receive Shipments
- Select Receive shipments in the Home menu
- Scan a Logmore data logger to upload data to the Cloud
- Click End the mission, if needed
This article provides you with more details on receiving shipments using Logmore Scanpoint.
Check this video to see the Logmore Scanpoint in action.