Mass scan feature saves you time and automates the following processes when sending and receiving shipments:
- Starting a Mission at the beginning of the shipment
- Starting a mission from Mission Templates at the beginning of the shipment
- Creating a generic name for a mission
- Ending a mission after the shipment was received
Prerequisites
- a laser 2D barcode scanner connected to a PC via USB or Bluetooth
- one or several Logmore loggers
- Logmore Cloud account
- a pre-made Mission template with correct alert rules (optional)
Check this article on how to create a Mission template.
Quick Guide
- Connect your laser scanner to the PC
- Log in to Logmore Cloud with your account.
- Go to Mass scan (a button on the left side panel)
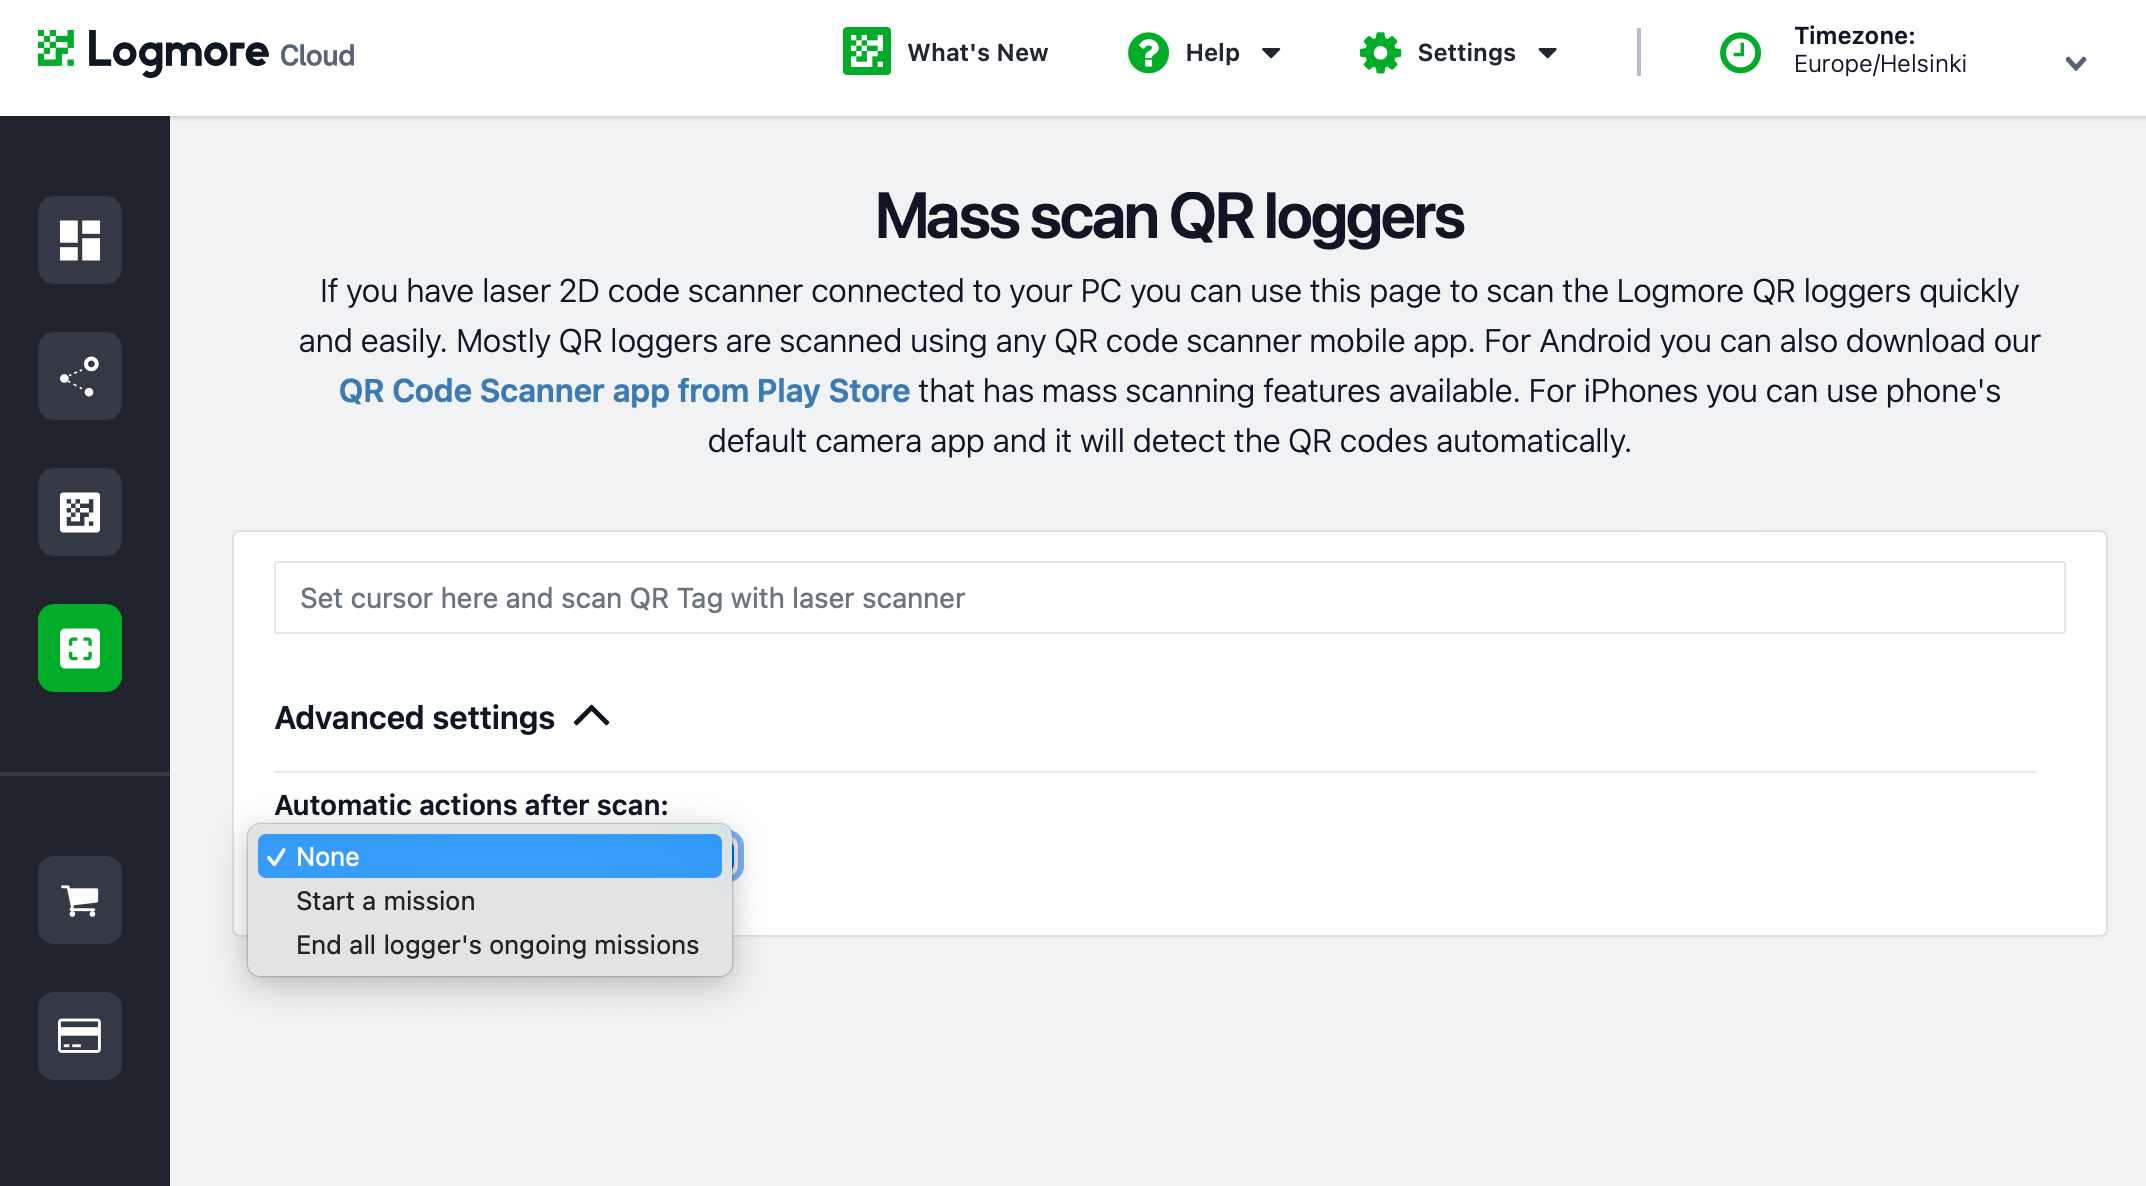
- Click Advanced settings and choose an action to happen after the logger has been scanned. See descriptions of each of these features below.
- None — you will be able to choose an action after scanning the loggers (see instructions below).
- Start a mission — you will be able to customize the name and choose a template (see instructions below).
- End all logger's ongoing missions — no additional actions needed (see instructions below).

- Set a cursor to the text field and scan a logger with the scanner connected to the PC. A link will appear in the text field.
- Scan other loggers.
- When you're done, a list of scanned loggers will appear below.
- For all the scanned loggers, the Missions will be started or ended, depending on your choice.
Choose an action yourself after scanning the logger
If you've chosen None as an Automatic action after scan, you will be able to choose an action for each scanned logger yourself.
- Set a cursor to the text field and scan a logger with the scanner connected to the PC. A link will appear in the text field.
- A preview of the scan view opens on the screen. You can choose from the following actions:
-
- Quickly start a new Mission
- Link a logger to a team (if the logger is scanned for the first time)
- Access all the data available on the regular scan page

Automatically start a Mission after scan
By checking the option Start a mission, you open up the settings available for the automated mission creation.
- Select the mission naming policy:
- Start a mission with a generic name + timestamp (Example: "My mission 2019-10-07 13:45:99")
- Start a mission with a custom name every time Enter a name manually or scan a barcode that can be a mission's name, for example, a unique tracking ID or air waybill. For that, you need to scan a barcode immediately after scanning the logger.

- (Optional) Choose a suitable mission template with the alert rules suitable for the shipment, check this article about using Mission templates for more details.
-
(Optional) Select a delay for the mission start time. For example, if you enter 5 in the field, the mission will have a start time of 5 minutes from the moment you make the scan (if scan time is 09:00 --> mission start time will be 09:05).
💡 The delay is useful when you want to ignore a potential spike in data caused by a short time that the logger spends between activation and reaching the stable temperature of the container it is placed in.

-
Place your cursor on the text field near the top of the page (the text field that reads 'Place cursor here and scan QR tag with laser scanner').
-
Scan your loggers one by one. The missions will be started automatically. You might need to add a mission's name if you have chosen a custom name.
Automatically end Missions after scan
- Select 'End all logger's ongoing missions' in the Advanced settings on the Mass scan page.
-
Place your cursor on the text field near the top of the page (the text field that reads 'Place cursor here and scan QR tag with laser scanner').
-
Scan your loggers one by one.
- This action will end an ongoing mission immediately when the QR logger is scanned.
This action is useful when you need to receive shipments and upload condition monitoring data.