Utilizing Custom fields with Mission templates is highly recommended. Combining Custom fields with Mission templates will allow better visibility and quality of information on your shipments, and save time on your day-to-day monitoring activities. This article will guide you through adding and using Custom fields in Mission templates.
Prerequisites
To start using Custom fields with Mission templates, you can either create a new Mission template or edit an existing one.
- Go to Settings (upper navigation panel) and select Mission templates.
- If you want to create a new Mission template, select Create new.
See instructions for filling in the Mission template here. - If you want to edit an existing Mission template, click on the desired Mission template in the list below.
- The Mission template's page will open. Scroll down to the Custom fields.
Select or Create the Custom field
- Click Add new custom field.
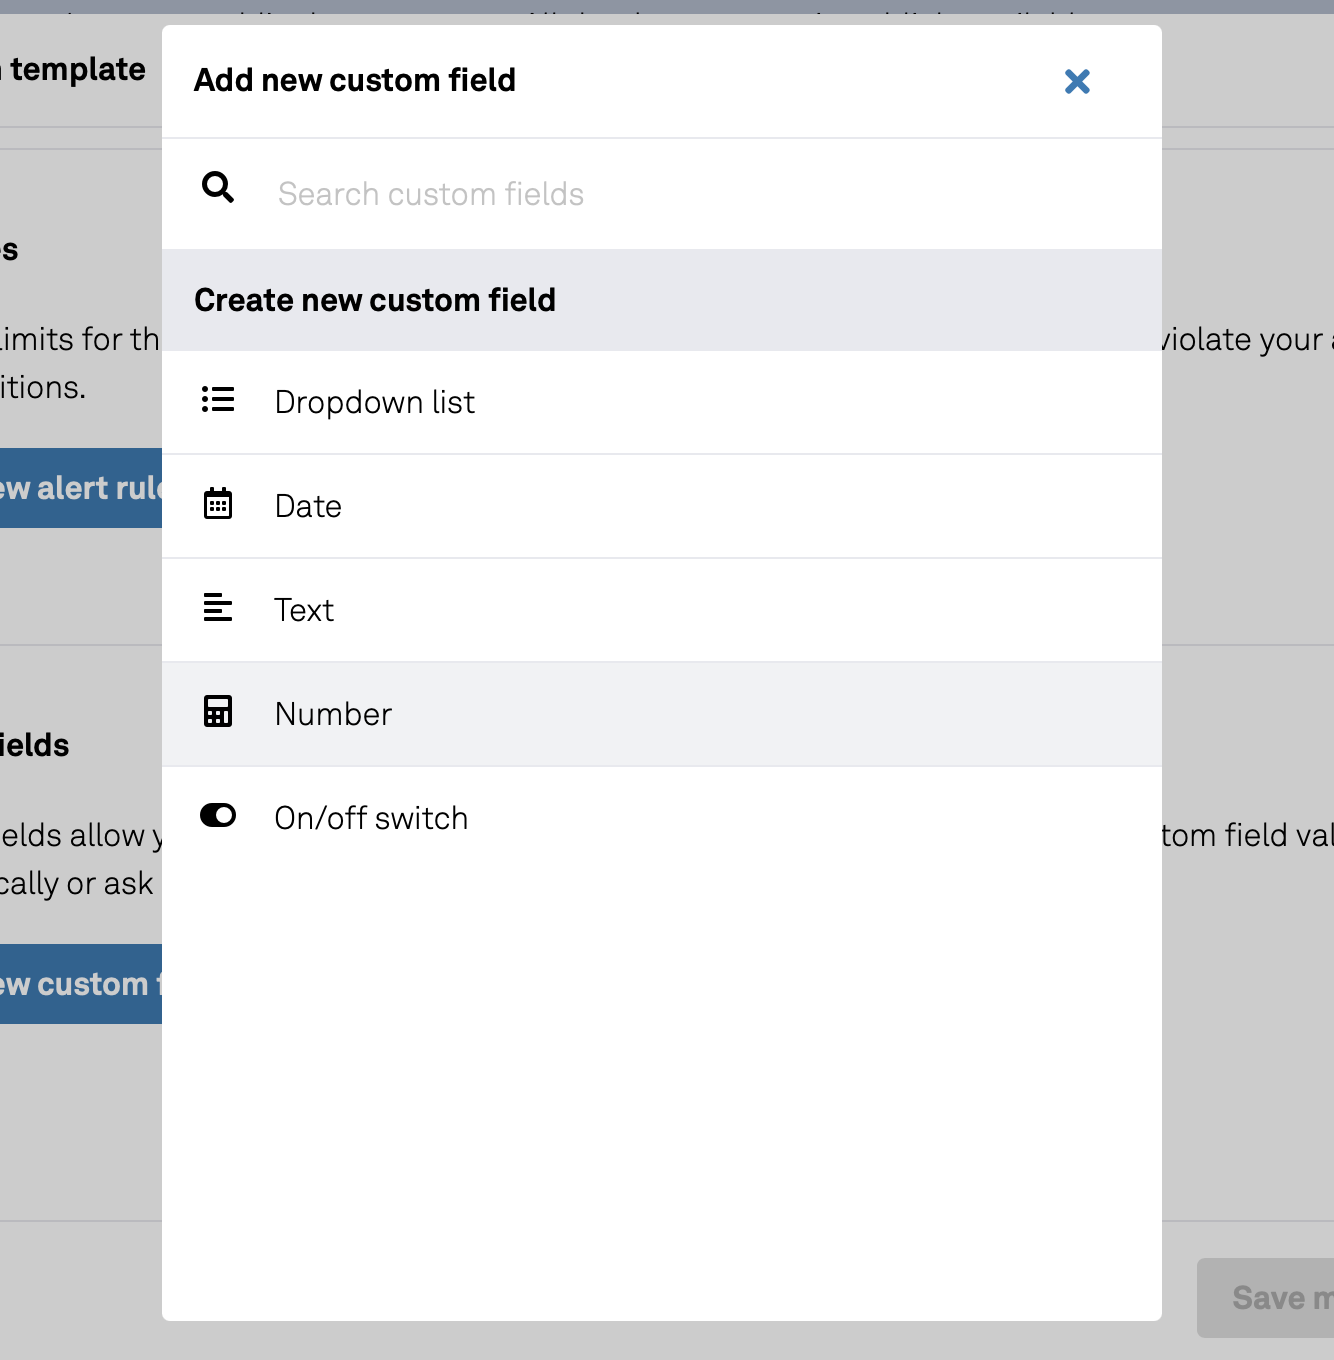
- If you have not created any Custom fields, your view will look like this and you will need to create a new Custom field. You can create Custom fields directly from the Mission template page, see this article for instructions.

- If you have Available custom fields (that you've created in advance), select those you want to use in the Missions created from this Mission template.
- You can add multiple Custom fields to one Mission template.
We recommend utilizing the Dropdown list and On/off switch Custom fields for their simple user experience. They also allow using the breakdown reports in your Dashboard. - To delete a Custom field from a Mission template, press a cross next to it.

Finalize Custom field settings in Mission template
Once you have created or selected the Custom fields you want to use in the Mission template, you will need to specify how they are used with the template.
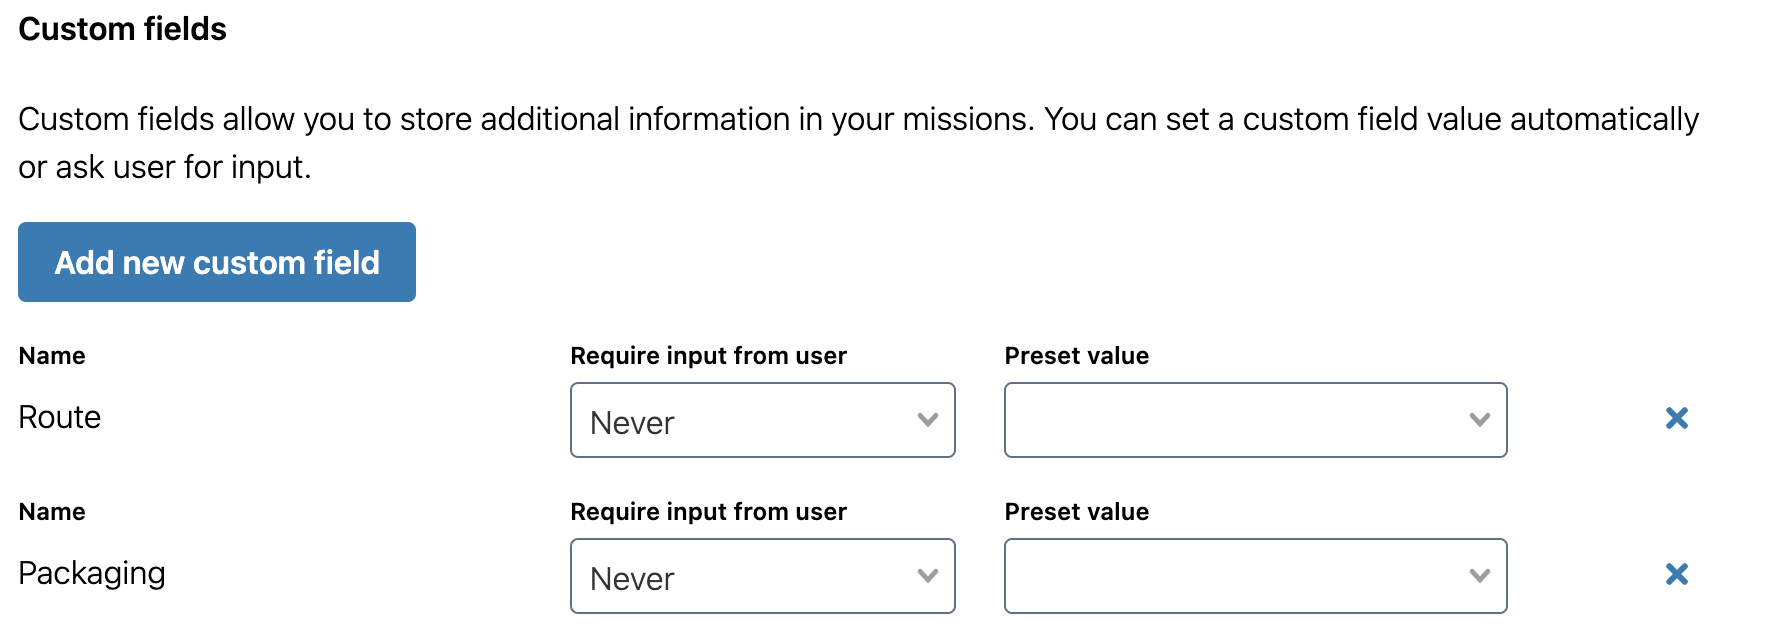
- After you've chosen the right Custom fields, fill in the Require input from user field. You can select Never/On mission start/On mission end.
This defines if the user creating or finishing the Mission can enrich the Custom fields. If the user gets to edit the field, it can happen when the shipment starts or when it's over — it solely depends on your operations and which users will have the available information. - Fill in the Preset value by selecting Leave blank/Set default option.
This means is there a default option set for the Custom field or not. If Input from user is set to Never, the user creating or finishing the Mission won't be able to set the value. It can be changed later by editing an existing Mission in Logmore Cloud. - Finalize creating or editing the Mission template and click Save mission template.
Example Custom fields in a Mission template

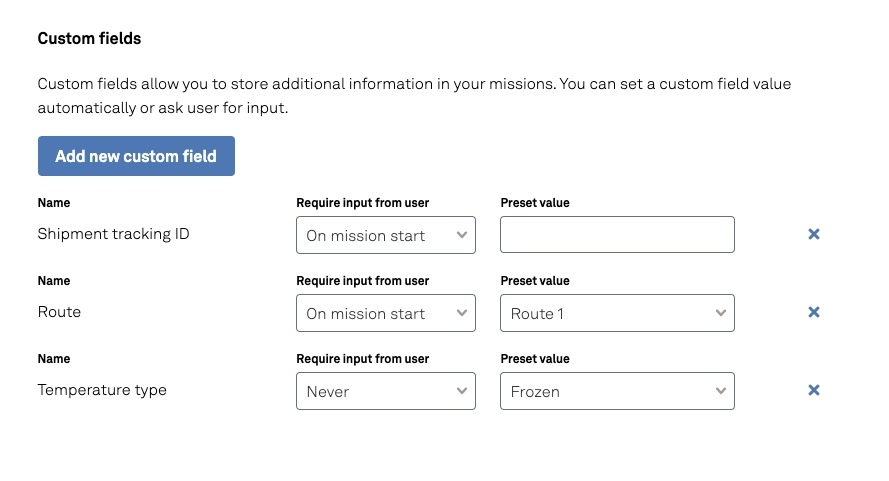
- Shipment tracking ID is asked when the Mission is started, and there is no preset value.
- Route is to be selected when the Mission is started, and "Route 1" is the preset value.
- Temperature type is automatically inputted to Mission details from the Mission template, and it is "Frozen".
Example user mission creation
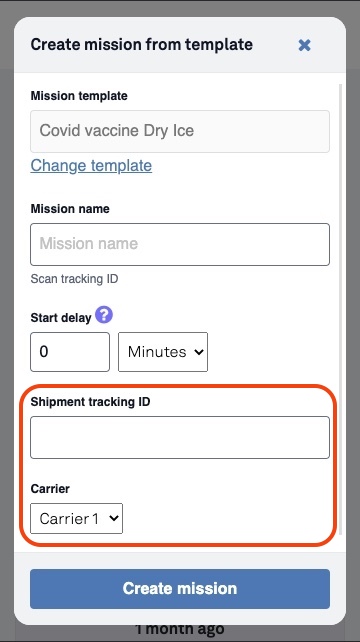
Example of how mission creation with Custom fields looks like for a user starting a Mission from a smartphone using the Mission template. A user will need to insert a Shipment tracking ID and if needed, change the Carrier info.
